I am not a sculptor. When I first got inspired to create a three-dimensional animal, I didn’t have the slightest idea as to what I had to do, or “where to start”.
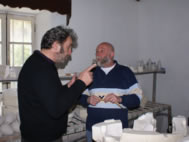
I went to see my friend Mauro Corda in his studio; he’s a grand sculptor if anyone is.
For sensuous and historic reasons, I wanted to realize a piece in ceramic.
In this country we have artisans and technicians of the very first order, well endowed in ancient know-how. Competition from Asia has seriously decimated the profession; the opportunity to revive and make work the last remaining French ceramists excited me to no end.
«You want to make a ceramic?!!» asked the dumbfounded friend Corda.
«You don’t know what you are getting yourself into!! A ceramic, that’s really great, but the procedure is full of pitfalls, it’s very long and complicated. Your piece, you will see it finished in a year. No less».
He was right. Between the moment I ran the first fistful of clay between my fingers and the time I held a glazed piece in my hands, a year had passed.
THE CLAY
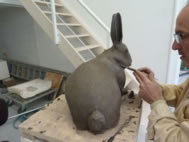
In his studio Mauro welded me a gallows, a structure made of metal pieces and assembled chicken wire, all solidly attached to a wooden board. He gave me some 10 kilos of modeling clay and then off to work!
At the time—before the bear—the first piece I planned to materialize was a large rabbit, this as a logical continuation to my famous and celebrated Pink Rabbit.
Once again I’m at a complete loss. How to go about it? How will the rabbit that I have in mind and the drawings of it pinned to the walls of Corda’s studio come to life from this shapeless pile of soil?
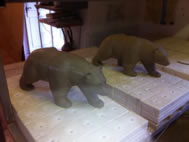
Little by little, by successive additions of small fragments of clay and the cautious aide of the sculptor the body emerges. The ears are a crucial step and I make them over many a times. The metal-wired gallows holds kilos of soil preventing the structure from crumbling on itself. The sessions last several weeks; the work is covered in damp pieces of cloth in between each new phase to keep the clay from drying.
Corda’s studio is located in Paris, mine in Bordeaux. I go back and forth and two months later the rabbit is there, in its pose and shape perfectly true to what I had in mind! The only thing left to do is to “pull” (smooth out) the clay. This last stage, too technical, is entrusted to Corda’s assistant.
THE PLASTER CAST
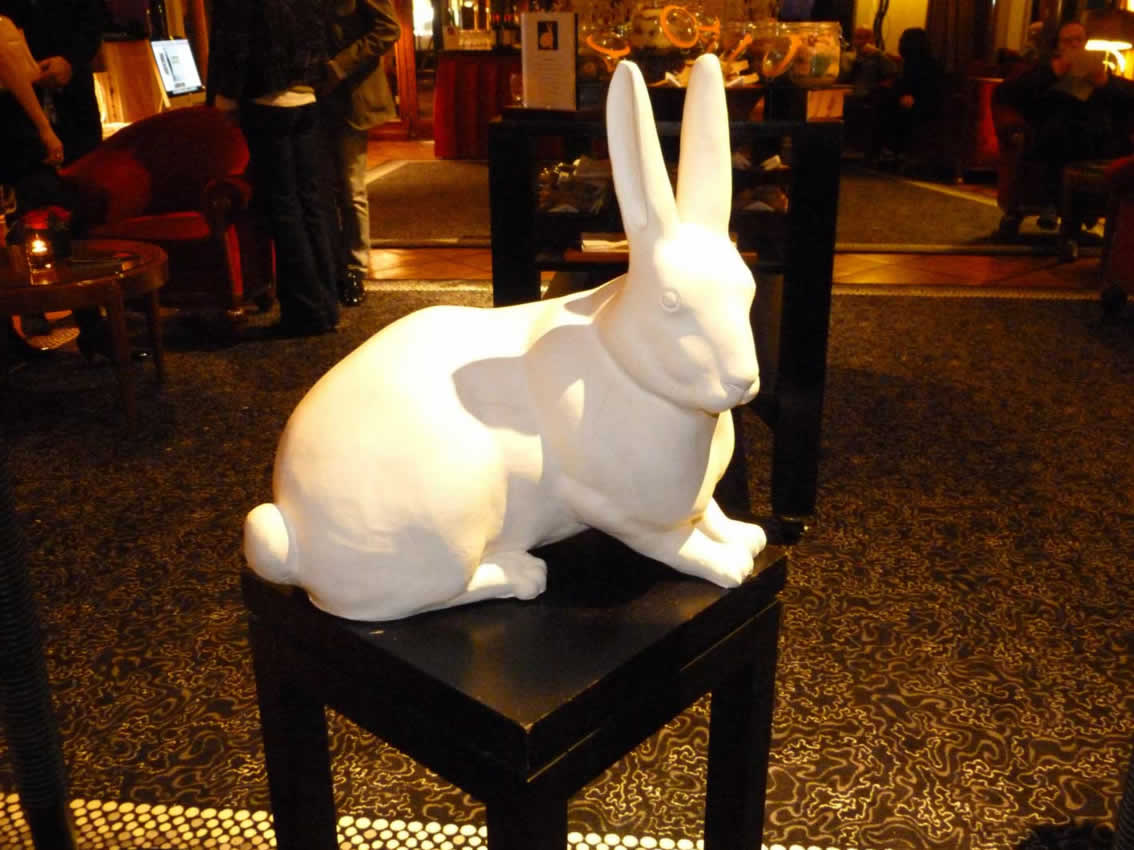
The perfect beast must now be cast then poured in fine plaster in order to obtain a prototype, the unique mold. The clay so long improved upon will be lost...This operation is also entrusted to a professional, I next take charge of the finishing details: scraping, fine sanding, and the last little touches.
Finally one evening, I present the plaster cast during an exhibit in the Ernest salon at Hotel Lutétia.
The biscuits and the glazing are made by the Catufe brothers at Terres d’Hautaniboul in Boissezon in the Tarn region. One has to put it in context of a primitive industry to fully understand the process. We are striving to produce a perfectly homogenous piece, without drippings or bubbles, identically reproducible. However, we are not there yet; the challenge now is to create a mold that allows releasing the object without mishaps.
THE MOULD IN SECTIONS
In order to pour the ceramic slip and turn out the subject with ease, we have to make a hard plaster mould in sections.
A true jigsaw puzzle consisting of 18 pieces, once assembled weighing around 20 kg, will be realized by a master molder from Barcelona also in charge of the restoration of Gaudi’s ceramics on his oeuvre Sagrada Familia.
As soon as the mold arrives at the atelier in Boissezon the trials begin and with that the cemetery of ceramic rabbits.
JUST LIKE A SHOE, YOU TRY A MOLD
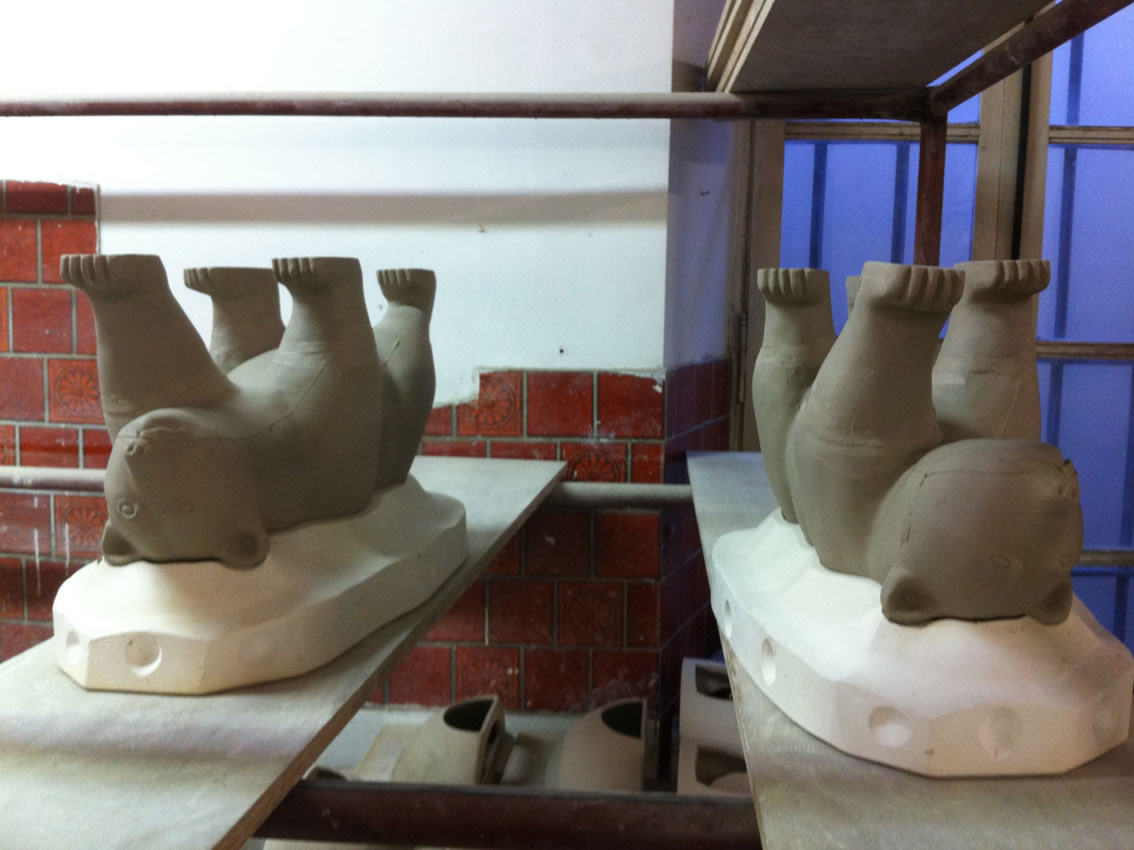
Once the pieces of the mold are assembled you fill the cavities with clay slip. After two or three hours you carefully take apart the mold making sure there are no empty spaces and that the pieces don’t stick to the plaster. When needed the mould is rectified and worked over…The fettles, or “seems” have to be scraped off or smoothened with a sponge.
THE DE-MOULDED PIECES DRY
Once turned out, the piece will have to dry slowly in a ventilated room with even temperature for two to three weeks. On the whole, the rule is: don’t force things; maintain temperate conditions. Neither too much heat, nor humidity or dryness, and especially no sunshine or dust from plaster, or other minerals that could trigger accidents during firing.
BISCUITING
The chosen technique is double firing; a first firing between 1,000 and 1,100°C for the bisque, then a second between 980 and 1,050°C for the glazing.
The art of firing is to find a level of fusion and solidification sufficiently hot to give great resistance to the piece. This without pushing all the way to a temperature that seals the clay, which prevents the glaze from adhering during the second firing, or allows it to get deformed once passed the point of fusion.
GLAZING
Due to the complexity of shape in my pieces, the glazing is sprayed on with help of an airbrush. The solution is colourless, vaguely grayish and the colour won’t be revealed until coming out of the oven. Certain pigments, especially the Black Pearl, call for different and very precise cooking curves to obtain a perfect homogeneity. Once at the fusion temperature for the glaze (often towards 980°C), you have to give it time to coat perfectly.
During the cooling down it will finally become solid glass sticking to the surface.
THE FIRST PIECES
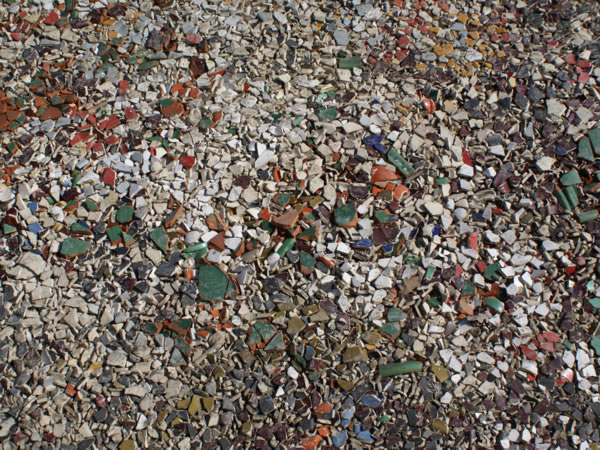
The first pieces are often discouraging. They end up in the ceramic cemetery and crushed they actually make an excellent surface material for the dirt road leading to the factory...It’s very attractive!